最近一直在看与IM相关的东西说到这个java中应该要说到netty,下面来认识一下netty.
开始了解netty之前我们先了解下传统的IO编程.
IO编程我们来做一个比较简单的demo:客户端每隔5秒发送一条消息到服务端,服务端收到消息打印出来.
服务端实现Server 端首先创建了一个serverSocket来监听 8000 端口,然后创建一个线程,线程里面不断调用阻塞方法 serversocket.accept();获取新的连接,当获取到新的连接之后,给每条连接创建一个新的线程,这个线程负责从该连接中读取数据,然后读取数据是以字节流的方式。
package com.pine.springbootdemo01.netty;import java.io.IOException;import java.io.InputStream;import java.net.ServerSocket;import java.net.Socket;/** * @author anziyang * @version V1.0 * @date 2022/3/1 11:53 上午 **/public IOServer { public static void main(String[] args) throws Exception { ServerSocket serverSocket = new ServerSocket(8000); // 接收新连接线程 new Thread(() -> { while (true) { try { // 阻塞方法获取新的连接 Socket socket = serverSocket.accept(); // 每一个新的连接都创建一个线程,负责读取数据 new Thread(() -> { try { int len; byte[] data = new byte[1024]; InputStream inputStream = socket.getInputStream(); // 按字节流方式读取数据 while ((len = inputStream.read(data)) != -1) { System.out.println(new String(data, 0, len)); } } catch (IOException e) { System.err.println(e); } }).start(); } catch (IOException e) { System.err.println(e); } } }).start(); }}客户端实现启动一个线程连接到服务端,循环中每次睡眠五秒也就是每隔五秒发送一次消息.
package com.pine.springbootdemo01.netty;import java.io.IOException;import java.net.Socket;import java.util.Date;/** * @author anziyang * @version V1.0 * @date 2022/3/1 11:54 上午 **/public IOClient { public static void main(String[] args) { // 启动一个线程 new Thread(() -> { try { Socket socket = new Socket("127.0.0.1", 8000); while (true) { try { socket.getOutputStream().write((new Date() + ": hello world socket").getBytes()); // 睡眠5秒 Thread.sleep(5000); } catch (Exception e) { System.err.println(e); } } } catch (IOException e) { System.err.println(e); } }).start(); }}先启动server端然后启动client可以看到server收到请求如下:
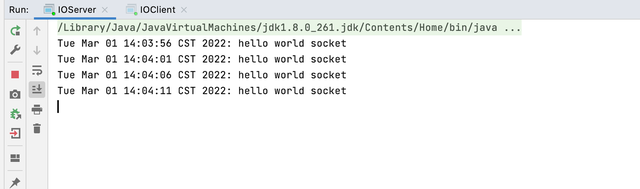
上面的 demo,从服务端代码中我们可以看到,在传统的 IO 模型中,每个连接创建成功之后都需要一个线程来维护,每个线程包含一个 while true 死循环,那么 10w 个连接对应 10w 个线程,继而 10w 个 while 死循环,这就带来如下几个问题:
线程资源受限:线程是操作系统中非常宝贵的资源,同一时刻有大量的线程处于阻塞状态是非常严重的资源浪费,操作系统耗不起线程切换效率低下:单机 CPU 核数固定,线程爆炸之后操作系统频繁进行线程切换,应用性能急剧下降。除了以上两个问题,IO 编程中,我们看到数据读写是以字节流为单位。为了解决这三个问题,JDK 在 1.4 之后提出了 NIO。
NIO(Non-blocking I/O,在Java领域,也称为New I/O),是一种同步非阻塞的I/O模型,也是I/O多路复用的基础,已经被越来越多地应用到大型应用服务器,成为解决高并发与大量连接、I/O处理问题的有效方式。
NIO编程java对于非堵塞I/O的支持是在2002年引入的,位于JDK1.4的java.nio包中.
IO和NIO的区别:
IO是面向字节流和字符流的,而NIO是面向缓冲区的。IO是阻塞模式的,NIO是非阻塞模式的NIO新增了选择器的概念,可以通过选择器监听多个通道。NIO用的是事件机制。它可以用一个线程把Accept,读,写操作,请求处理的逻辑全干了。如果什么事都没得做,它也不会死循环,它会将线程休眠起来,直到下一个事件来了再继续干活,这样的一个线程称之为NIO线程。
package com.pine.springbootdemo01.netty;import java.io.IOException;import java.net.InetSocketAddress;import java.nio.ByteBuffer;import java.nio.channels.SelectionKey;import java.nio.channels.Selector;import java.nio.channels.ServerSocketChannel;import java.nio.channels.SocketChannel;import java.nio.charset.Charset;import java.util.Iterator;import java.util.Set;/** * @author anziyang * @version V1.0 * @date 2022/3/1 2:29 下午 **/public NIOServer { public static void main(String[] args) throws IOException { Selector serverSelector = Selector.open(); Selector clientSelector = Selector.open(); // 启动一个线程绑定select 用于监听是否有新的连接 new Thread(() -> { try { // 对应IO编程中服务端启动 ServerSocketChannel listenerChannel = ServerSocketChannel.open(); listenerChannel.socket().bind(new InetSocketAddress(8000)); listenerChannel.configureBlocking(false); listenerChannel.register(serverSelector, SelectionKey.OP_ACCEPT); while (true) { // 监测是否有新的连接,这里的1指的是阻塞的时间为 1ms if (serverSelector.select(1) > 0) { Set<SelectionKey> set = serverSelector.selectedKeys(); Iterator<SelectionKey> keyIterator = set.iterator(); while (keyIterator.hasNext()) { SelectionKey key = keyIterator.next(); if (key.isAcceptable()) { try { // (1) 每来一个新连接,不需要创建一个线程,而是直接注册到 clientSelector SocketChannel clientChannel = ((ServerSocketChannel) key.channel()).accept(); clientChannel.configureBlocking(false); clientChannel.register(clientSelector, SelectionKey.OP_READ); } finally { keyIterator.remove(); } } } } } } catch (IOException e) { System.err.println(e); } }).start(); // 启动一个线程绑定select 用于监听哪些连接有数据可读 new Thread(() -> { try { while (true) { // (2) 批量轮询是否有哪些连接有数据可读,这里的1指的是阻塞的时间为 1ms if (clientSelector.select(1) > 0) { Set<SelectionKey> set = clientSelector.selectedKeys(); Iterator<SelectionKey> keyIterator = set.iterator(); while (keyIterator.hasNext()) { SelectionKey key = keyIterator.next(); if (key.isReadable()) { try { SocketChannel clientChannel = (SocketChannel) key.channel(); ByteBuffer byteBuffer = ByteBuffer.allocate(1024); // (3) 面向 Buffer clientChannel.read(byteBuffer); byteBuffer.flip(); System.out.println(Charset.defaultCharset().newDecoder().decode(byteBuffer) .toString()); } finally { keyIterator.remove(); key.interestOps(SelectionKey.OP_READ); } } } } } } catch (IOException e) { System.err.println(e); } }).start(); }}从上面的代码中我们可以看到
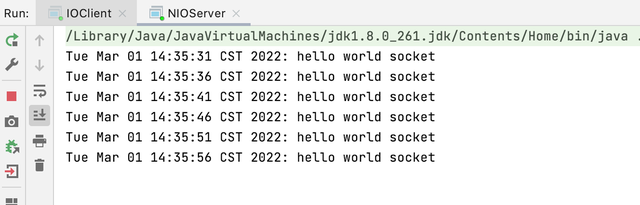
NIO 模型中通常会有两个线程,每个线程绑定一个轮询器 selector ,在我们这个例子中serverSelector负责轮询是否有新的连接,clientSelector负责轮询连接是否有数据可读服务端监测到新的连接之后,不再创建一个新的线程,而是直接将新连接绑定到clientSelector上,这样就不用 IO 模型中 1w 个 while 循环在死等,参见(1)clientSelector被一个 while 死循环包裹着,如果在某一时刻有多条连接有数据可读,那么通过 clientSelector.select(1)方法可以轮询出来,进而批量处理,参见(2)数据的读写面向 Buffer,参见(3)启动NIOServer main方法然后启动之前的client可以看到控制打印
 Netty编程
首先看下netty如何实现服务端的:
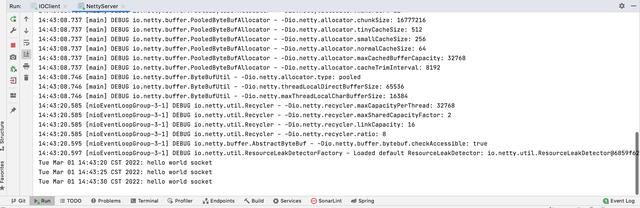
package com.pine.springbootdemo01.netty;import io.netty.bootstrap.ServerBootstrap;import io.netty.channel.ChannelHandlerContext;import io.netty.channel.ChannelInitializer;import io.netty.channel.SimpleChannelInboundHandler;import io.netty.channel.nio.NioEventLoopGroup;import io.netty.channel.socket.nio.NioServerSocketChannel;import io.netty.channel.socket.nio.NioSocketChannel;import io.netty.handler.codec.string.StringDecoder;/** * @author anziyang * @version V1.0 * @date 2022/3/1 2:41 下午 **/public NettyServer { public static void main(String[] args) { ServerBootstrap serverBootstrap = new ServerBootstrap(); NioEventLoopGroup boss = new NioEventLoopGroup(); NioEventLoopGroup worker = new NioEventLoopGroup(); serverBootstrap.group(boss, worker).channel(NioServerSocketChannel.class) .childHandler(new ChannelInitializer<NioSocketChannel>() { protected void initChannel(NioSocketChannel ch) { ch.pipeline().addLast(new StringDecoder()); ch.pipeline().addLast(new SimpleChannelInboundHandler<String>() { @Override protected void channelRead0(ChannelHandlerContext ctx, String msg) { System.out.println(msg); } }); } }).bind(8000); }}上面代码明显比前面的NIO少很多代码,优雅了不少.
可以看到netty服务端输出内容:
本文就先聊这么多,主要是熟悉下netty编程,看下经典的hello world.
感觉有收获点个赞,转发下哦
参考文档:
https://juejin.cn/book/6844733738119593991/section/6844733738270588942
https://www.jianshu.com/p/432d5557a19e
https://www.cnblogs.com/flyingeagle/articles/11031163.html