抛物线光学性质 方程:

抛物线光学性质 解释和应用:
抛物线光学性质:从焦点发出的光线,经过抛物线反射后平行于抛物线的轴。
应用:探照灯、汽车前灯、卫星天线。抛物面反射镜将位于焦点的光源发出的光线汇聚成平行光束,用于远距离照明或信号传输。
证明:抛物线光学性质的微积分证明。
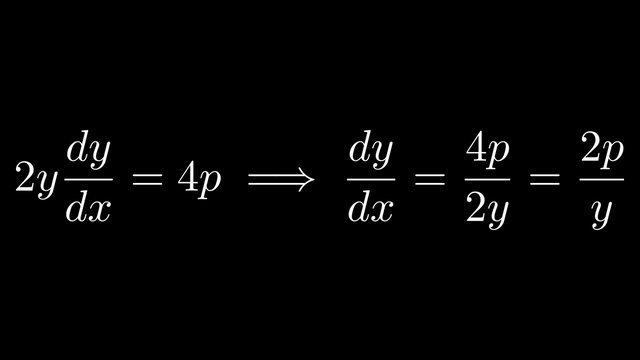
首先,设抛物线方程为 $y^2 = 4px$,焦点为 $F(p, 0)$。
Explanation part 1 Image:

抛物线光学性质 图示:

抛物线光学性质 微积分证明:
微积分证明步骤:
Proof part 1 Image:

Proof part 2 Image:

Proof part 3 Image:

Proof part 4 Image:

Proof part 5 Image:

Proof part 6 Image:
Proof part 7 Image:

Proof part 8 Image:

Proof part 9 Image:

Proof part 10 Image:

Proof part 11 Image:

Proof part 12 Image:

Proof part 13 Image:

Proof part 14 Image:

Proof part 15 Image:

Proof part 16 Image:

Proof part 17 Image:

Proof part 18 Image:

Proof part 19 Image:

Proof part 20 Image:

Proof part 21 Image:

Proof part 22 Image:

Proof part 23 Image:

---
椭圆光学性质椭圆光学性质 方程:

椭圆光学性质 解释和应用:
椭圆光学性质:从一个焦点发出的光线,经过椭圆反射后汇聚到另一个焦点。
应用:回音廊、光学仪器、医疗设备(如碎石机)。椭圆反射镜将能量汇聚到另一个焦点,用于集中使用。
证明:椭圆光学性质的微积分证明。
首先,设椭圆方程为 $\frac{x^2}{a^2} + \frac{y^2}{b^2} = 1$,焦点为 $F_1(-c, 0)$ 和 $F_2(c, 0)$。
Explanation part 1 Image:

椭圆光学性质 图示:

椭圆光学性质 微积分证明:
微积分证明步骤:
Proof part 1 Image:

Proof part 2 Image:

Proof part 3 Image:

Proof part 4 Image:

Proof part 5 Image:

Proof part 6 Image:

Proof part 7 Image:

Proof part 8 Image:

Proof part 9 Image:

Proof part 10 Image:

Proof part 11 Image:

Proof part 12 Image:

Proof part 13 Image:

Proof part 14 Image:

Proof part 15 Image:

Proof part 16 Image:

Proof part 17 Image:

Proof part 18 Image:

Proof part 19 Image:

Proof part 20 Image:

Proof part 21 Image:

Proof part 22 Image:

Proof part 23 Image:

Proof part 24 Image:

Proof part 25 Image:

Proof part 26 Image:

Proof part 27 Image:

Proof part 28 Image:

Proof part 29 Image:

Proof part 30 Image:

Proof part 31 Image:
Proof part 32 Image:
Proof part 33 Image:

---
双曲线光学性质双曲线光学性质 方程:

双曲线光学性质 解释和应用:
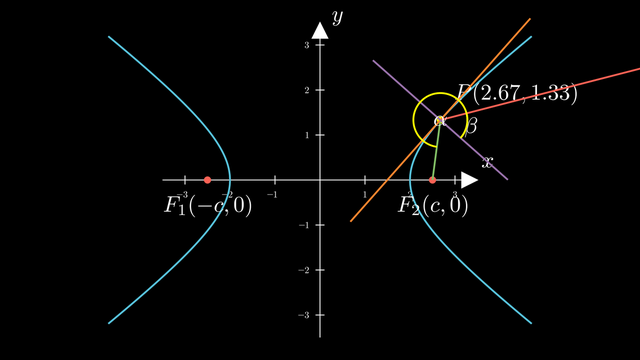
双曲线光学性质:从一个焦点发出的光线,经过双曲线反射后,其反射光线的反向延长线通过另一个焦点。
应用:卡塞格林天线、反射望远镜。双曲线反射镜反射来自一个焦点的光线,使其看起来像来自另一个焦点。
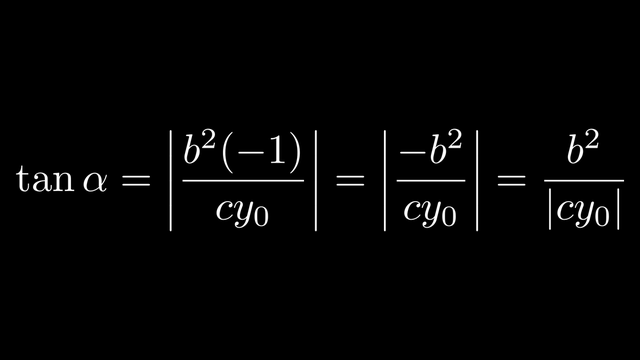
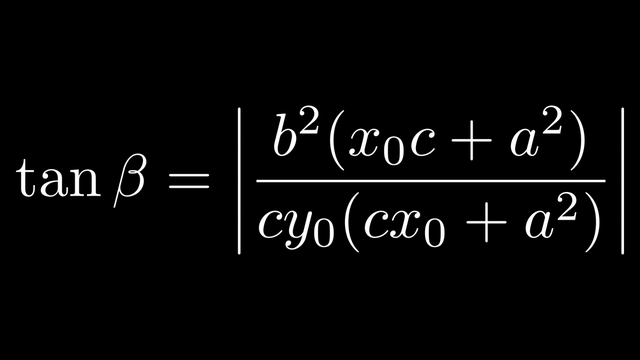
证明:双曲线光学性质的微积分证明。
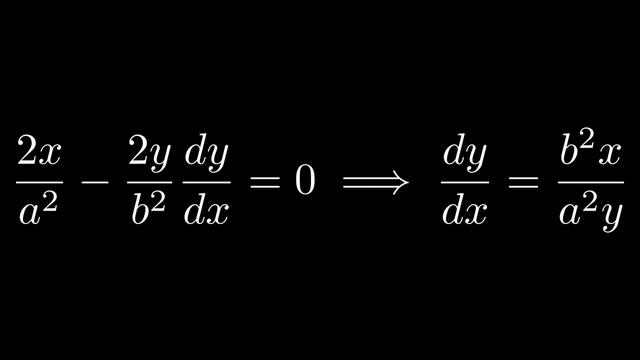
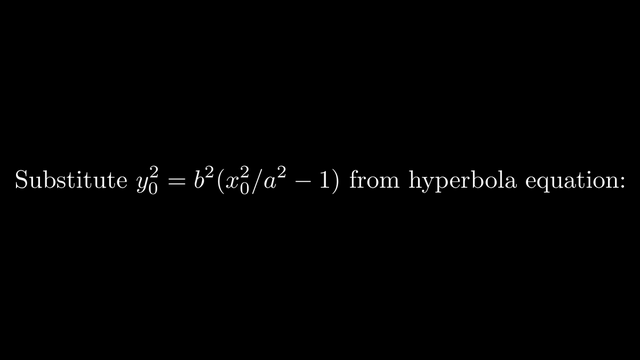
首先,设双曲线方程为 $\frac{x^2}{a^2} - \frac{y^2}{b^2} = 1$,焦点为 $F_1(-c, 0)$ 和 $F_2(c, 0)$。
Explanation part 1 Image:

双曲线光学性质 图示:
双曲线光学性质 微积分证明:
微积分证明步骤:
Proof part 1 Image:

Proof part 2 Image:

Proof part 3 Image:

Proof part 4 Image:
Proof part 5 Image:
Proof part 6 Image:

Proof part 7 Image:
Proof part 8 Image:

Proof part 9 Image:

Proof part 10 Image:

Proof part 11 Image:

Proof part 12 Image:

Proof part 13 Image:
Proof part 14 Image:

Proof part 15 Image:

Proof part 16 Image:

Proof part 17 Image:

Proof part 18 Image:

Proof part 19 Image:
Proof part 20 Image:

Proof part 21 Image:

Proof part 22 Image:

Proof part 23 Image:

Proof part 24 Image:

Proof part 25 Image:

Proof part 26 Image:

Proof part 27 Image:

Proof part 28 Image:
Proof part 29 Image:
Proof part 30 Image:
Proof part 31 Image:
Proof part 32 Image:
Proof part 33 Image:

---
